


So I came across this blog: On the V Side and saw her post about making these "chic" bookmarks!
I love this cute little idea for a couple of reasons...
- I'm always folding corners on magazines/cookbooks for articles or pictures that I love for inspiration or in books for quotes etc.. this would be a great way to flag those.
- You can decorate them with your favorite fabric! How fun is that?!
- The best part it looks SUPER easy to make! This would make a great little "Thank you" gift for a friend or for your child's teacher!! Just think for a teacher you could find some cute "School" like fabric with apples or letters. How fun! I know I get excited over the little things. =)
Take a look below for her tutorial and then head on over to her blog for some more fun ideas!

(Pictures from "On the V side")
 Looking for a great stocking stuffer for a student or your favorite bookworm? Don’t want to spend a bundle?
Have a seat. I have a DIY solution that a monkey could make. And by monkey, I mean me.
They’re chic bookmarks! Made from covered buttons. They tuck right in between your pages without being bulky, and you don’t have to worry about losing your page if you drop your book, or if a certain Redhead reaches up and grabs whatever her chubby little fingers can reach on whatever tabletop/shelf/right out of your hands and runs away with it.
I’ve also found they’re the perfect solution for marking favorite recipes in cookbooks.
My sister gave me a few of these one year, and I thought – “they’re so cute! And I can so totally make this!” So I did. :)
What you’ll need:
- hot glue gun
- covered-button kit
- fabric scraps
- paper clips
You’ll start by making covered buttons with your fabric of choice – just follow the instructions on the package. I bought mine for $2.99 at Hobby Lobby, but you can find these at pretty much any fabric store.
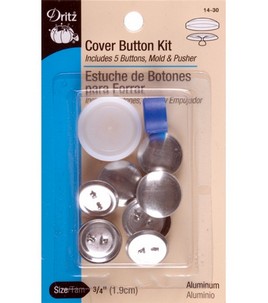
Trust me – WAY EASY.
Once you have your buttons, get your glue gun nice and hot. While that’s heating up, thread the paper clip through the hole in the back of the button. Play with the size to see what proportion you like the most, but I found that with the large buttons that come in your kit, a larger paper clip works best.
Lay the button flat, and fill the back of the button with hot glue. Make sure to hold the paper clip straight until the glue dries, which won’t take long.

THAT’S IT! YOU’RE DONE!
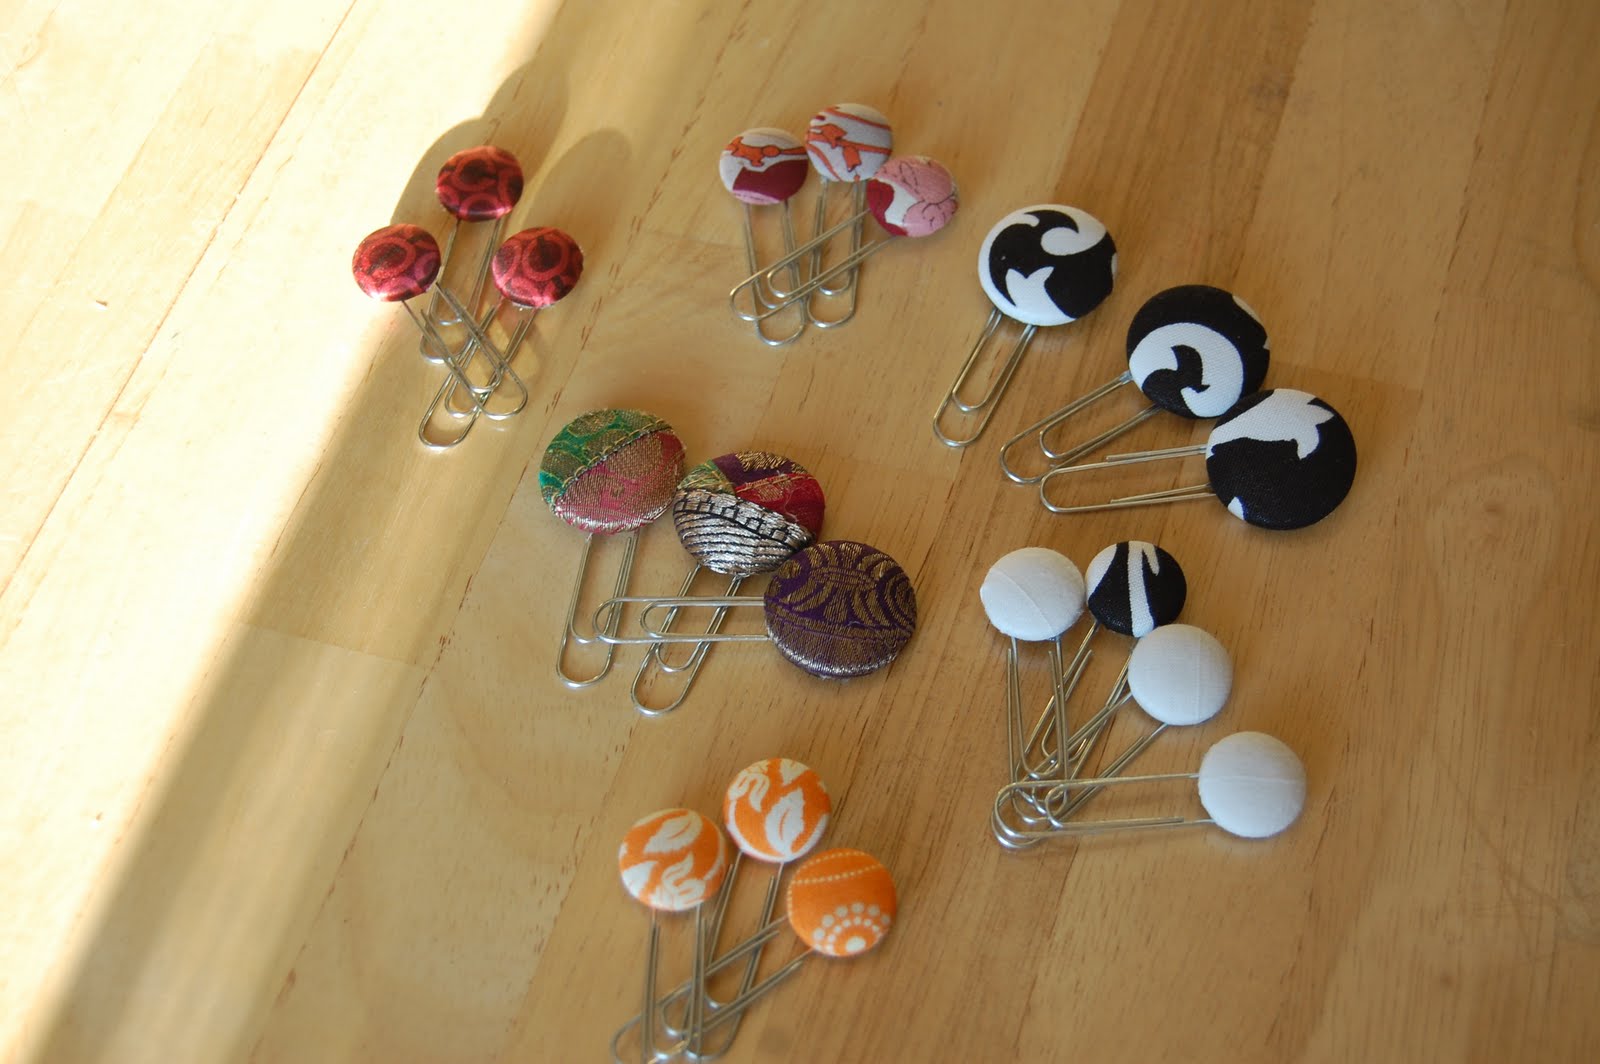
(I totally said this was going to be easy)


No comments:
Post a Comment